Crafting Your Own Gaming PC: A Step-by-Step Guide
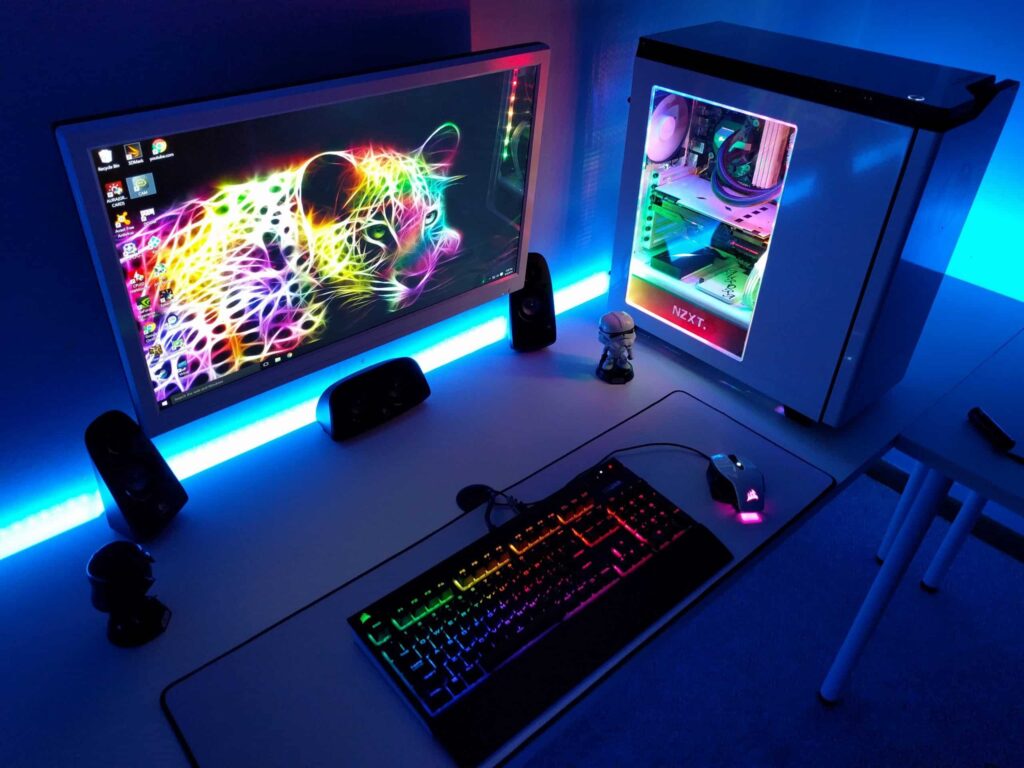
Building a gaming PC is a fulfilling and personalized project, offering the chance to tailor your setup to your unique preferences and performance needs. Whether you’re new to this or have some experience, follow this comprehensive guide to construct your own gaming PC with ease.
Step 1: Gather the Necessary Components
Begin by collecting all the components required for your build. These include:
- Processor (CPU)
- Motherboard
- Graphics Card (GPU)
- Memory (RAM)
- Storage (SSD/HDD)
- Power Supply Unit (PSU)
- Case
- Cooling System (Air or Liquid)
- Operating System (OS)
- Peripherals (monitor, keyboard, mouse, etc.)
Ensure compatibility between components, such as the CPU and motherboard, and verify that your case accommodates all parts.
Step 2: Set Up Your Workspace
Choose a clean, static-free area to work in. Use an anti-static wrist strap to protect your components from static electricity. Arrange your tools (e.g., screwdrivers, thermal paste) and parts for easy access.
Step 3: Install the CPU
- Open the CPU socket on the motherboard by lifting the latch.
- Align the CPU with the socket, using the triangle marker as a guide, and gently place it in.
- Secure it by lowering the latch back down.
Step 4: Attach the CPU Cooler
- Install the backplate if required.
- Apply a small amount of thermal paste to the CPU’s center.
- Attach the cooler as per the manufacturer’s instructions.
- Connect the cooler’s fan to the motherboard’s appropriate header.
Step 5: Insert the RAM
- Open the RAM slots on the motherboard.
- Align the RAM module’s notch with the slot and press down firmly until it clicks.
- Repeat for additional RAM sticks if necessary.
Step 6: Mount the Motherboard
- Insert the I/O shield into the case.
- Align the motherboard with the standoffs in the case.
- Secure the motherboard with screws.
Step 7: Install the Power Supply
- Place the PSU in its designated location within the case.
- Secure it with screws.
- Connect power cables to the motherboard, including the 24-pin ATX and CPU power cables.
Step 8: Set Up Storage Devices
- Mount your SSD or HDD in the case’s drive bays.
- Connect them to the motherboard using SATA cables.
- Attach power cables from the PSU.
Step 9: Add the GPU
- Remove the necessary expansion slot covers from the case.
- Insert the GPU into the PCIe slot on the motherboard.
- Secure the GPU and connect power cables if required.
Step 10: Connect Case Fans and Front Panel
- Attach case fans to the motherboard or a fan controller.
- Connect the front panel cables (e.g., power button, USB ports) to their corresponding motherboard headers.
Step 11: Manage Cables
Organize and secure cables with zip ties or Velcro straps for improved airflow and a tidy build.
Step 12: Test Your Build
- Verify all connections are secure.
- Plug in the power cable and switch on the PSU.
- Press the case’s power button to turn on the PC.
- If everything is connected correctly, the system should boot up. Enter the BIOS to ensure all components are recognized.
Step 13: Install the Operating System
- Insert the OS installation media (USB or DVD).
- Follow the on-screen instructions to install the OS.
- Install all necessary drivers for your hardware.
Step 14: Set Up Essential Software
After installing the OS, download essential programs like antivirus software, game clients (e.g., Steam), and other applications you’ll need.
Conclusion
Building your gaming PC is a rewarding experience that allows you to create a system tailored to your budget and gaming requirements. With this guide, you’ll have a high-performance PC ready to deliver countless hours of entertainment and future upgrade potential. Happy building!
Leave a Reply